DSL is a high-speed connection from your Ethernet to the Internet. Therefore, the first thing you need to do is connect your computer to your local Ethernet. The documentation you got with the DSL modem from Qwest should do a good job of showing you how to do that, but if you need help, with this, or any of the following, feel free to email support@rdrop.com or call 503-574-4195 and we'll come help you set it up. It will be free as long as it's just a matter of configuring the existing system and doesn't require installing or reinstalling anything.
Once your computer is connected, you'll need to configure it for your LAN (Local Area Network --- your Ethernet in your house, as opposed to a WAN, or Wide Area Network, which is what the Internet is). Instructions for doing that are in the links on the left. If you've already been using your LAN, you may have to reconfigure a machine temporarily so that you can talk to the DSL modem, but if you've already setup your LAN, you'll probably know what you need to do. If not, feel free to ask and we can guide you through it.
The first thing you need to do is Start/Run and then enter
telnet 10.0.0.1. You should get a window that says
cbos>. Type enable. If you've never
configured a password, just press Enter at the password prompt.
The prompt should read cbos# now.
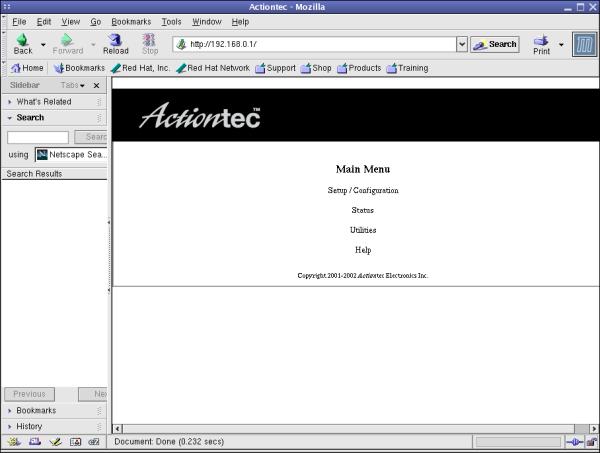
Click on Setup/Configuration to go to:
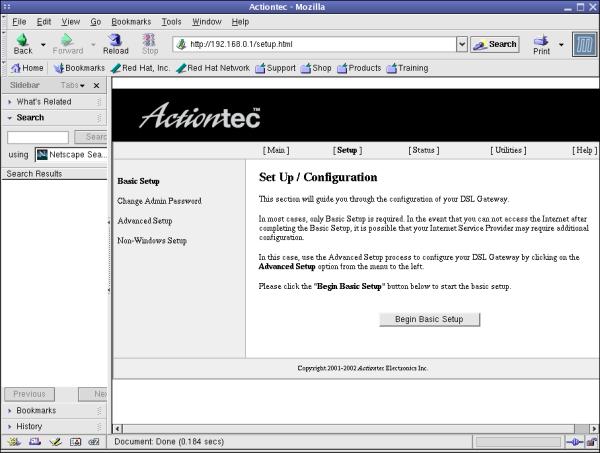
and then click on the Begin Basic Setup button (this thing is painful about making you click on a bazillion things to get anywhere, but at least it's just a few extra clicks):

and finally, click on Next to get to the first actual configuration screen:
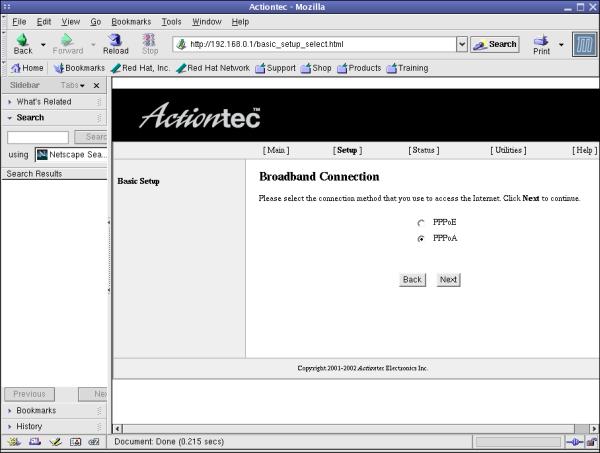
Click on PPPoA to select the right connection method for it to talk to the RainDrop router, then click on Next again:
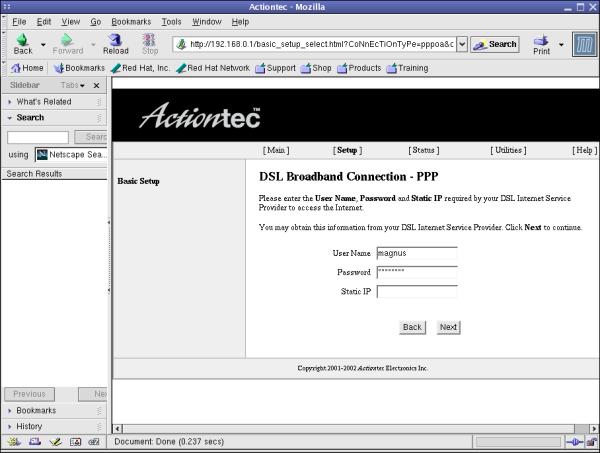
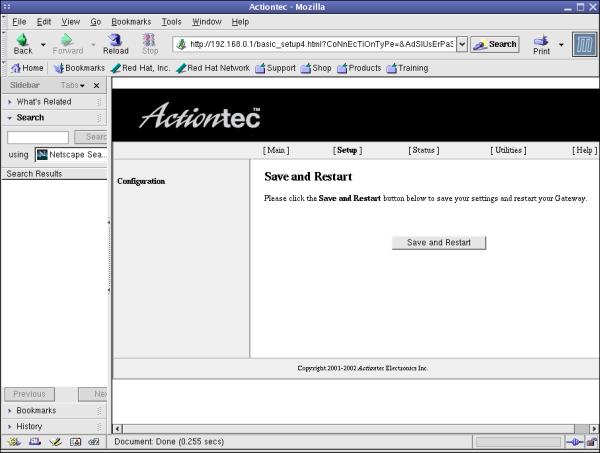
Here you enter your User Name (your RainDrop account name) and your RainDrop password. Leave the Static IP field blank --- it's assigned automatically (even though it is static). Then click on Next, and then Save and Restart.
Wait a little while, then browse back to
http://192.168.0.1/setup.html:
This time, click on Advanced Setup on the left:
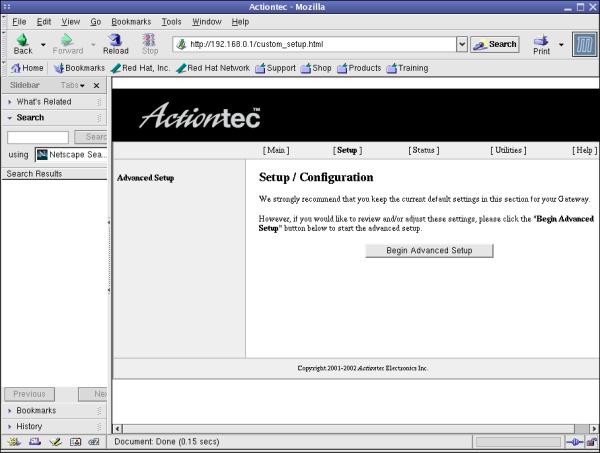
Begin Advanced Setup...
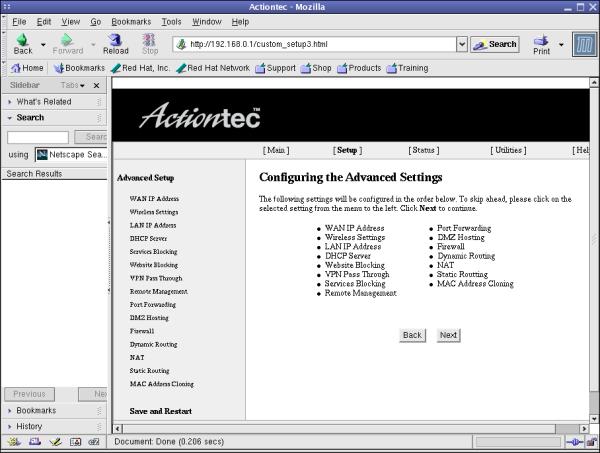
...and Next, and we finally get to:
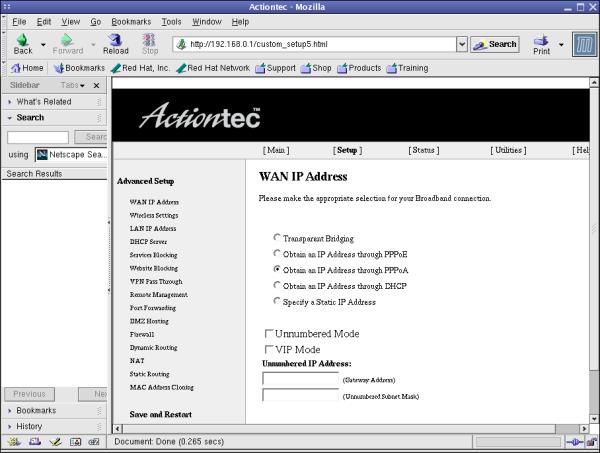
Finally, select Obtain an IP address through PPPoA and NOW click Save and Restart (hiding over on the left, instead of being a separate button in the main part).
At this point, you should be able to surf anywhere you like. Configure your mail client to use your RainDrop login/password, with your incoming (POP) server set to pop.rdrop.com and your outgoing (SMTP) server set to smtp.rdrop.com. You can manage your account by going to www.rdrop.com and clicking on the User Account Management link.